USS PYBUS (ACV-34/CVE-34) /
HMS EMPEROR (D98/R307)


Submitted by his son, Chris
| In Action | |
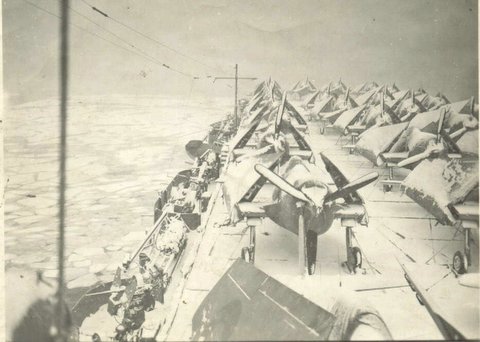 36Kb NS-03-cve34-tp0003005 Off Norway, 1944 |
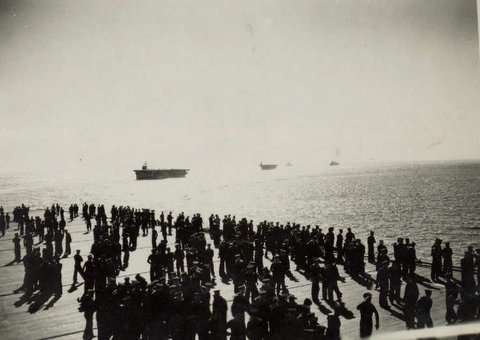 32Kb NS-03-cve34-tp0004002 HMS Emperor returning to Scapa Flow, May 1944, after raid on Tirpitz and operations off Norway |
| Aircraft | |||
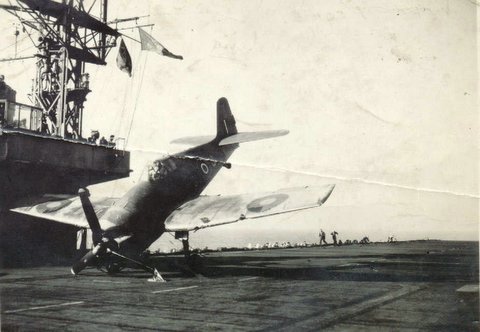
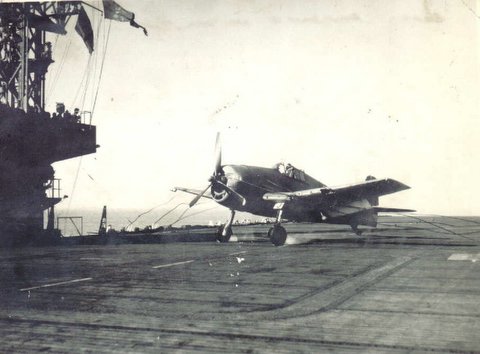 31Kb NS-03-cve34-tp0006004 |
 34Kb NS-03-cve34-tp0006002 (Slightly larger copy, from the collection of Jack Price.) |
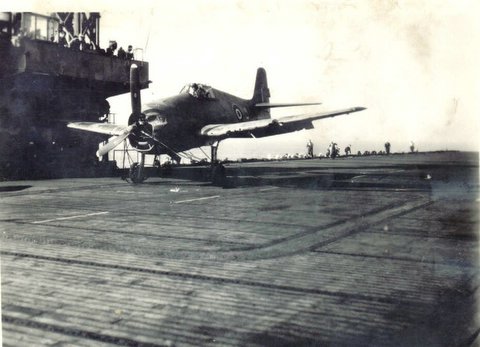
 33Kb NS-03-cve34-tp0006003 |
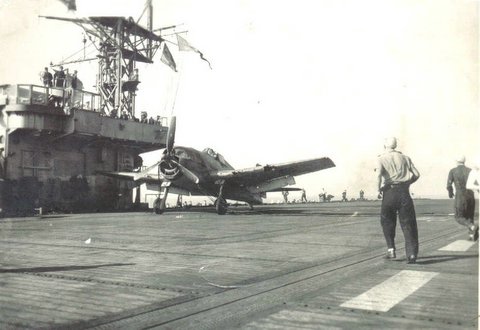 30Kb (Slightly larger copy, from the collection of Jack Price.) NS-03-cve34-tp0006005 |
| — Have you lost your controls? — Who? Me? | |||
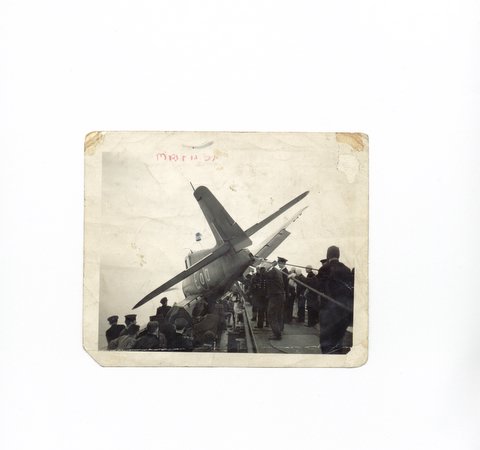 19Kb NS-03-cve34-tp0007tr Note hook is still holding plane | |||
| The Crew | |||
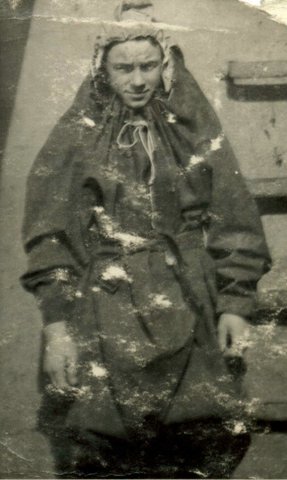 29Kb NS-03-cve34-tp0005005 Chris Thomas |
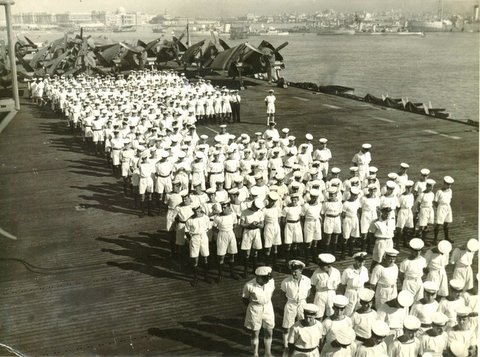 57Kb NS-03-cve34-tp0004003 Parade somewhere in the Med |
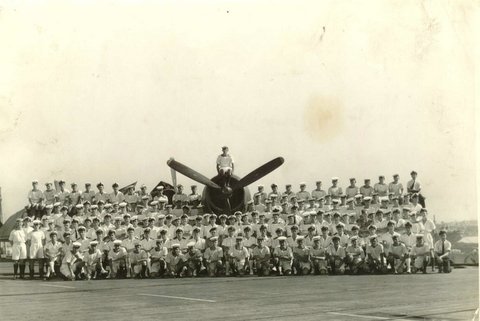 30Kb NS-03-cve34-tp0004004 Group shot |
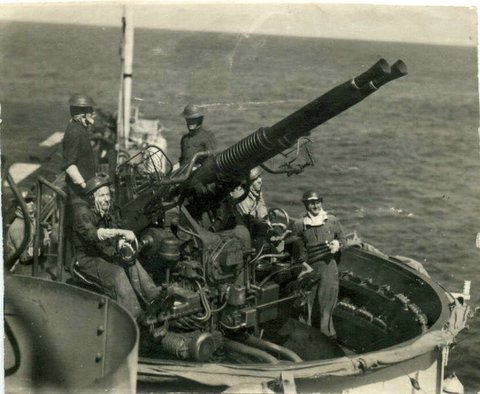 43Kb NS-03-cve34-tp0005002 Twin 40-mm Bofors gun crew, off Sumatra |
| Japanese Surrender, Singapore, 12 September 1945 |
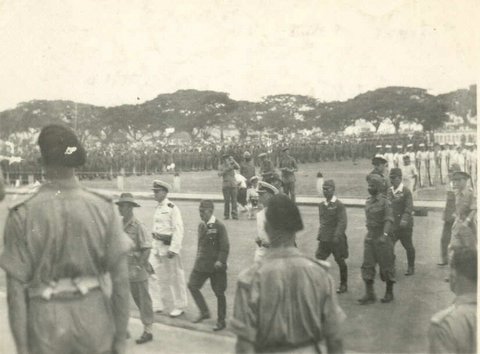 32Kb NS-03-cve34-tp0005004 Lt Gen William Joseph Slim, Commander, British 14th Army, leads the way (See also NS-03-cve8-p03, from the collection of Louis Pryor) |
| Main Photo Index |
Escort Carrier Photo Index Page |
USS Pybus / HMS Emperor Main Page |
Comments, Suggestions or Image submissions, E-mail Carrier Information
Problems and site related matters, E-mail Webmaster
This page was created and is maintained by Fabio Peña
![]()
Last update: 29 March 2025