Click On Image
For Full Size Image |
Size |
Image Description |
Source
Contributed By |

09250120 |
144k |
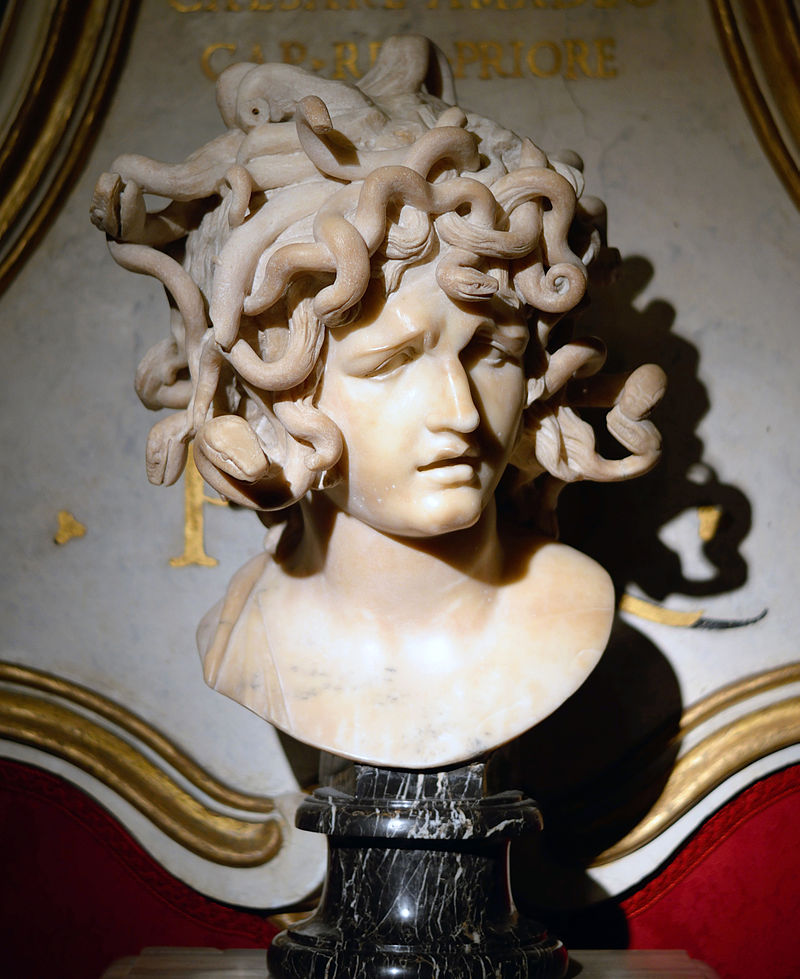
Namesake
Medusa - A Gorgon, generally described as a winged human female with living venomous snakes in place of hair. Those who gazed into her eyes would turn to stone.
Medusa head by Gianlorenzo Bernini in Musei capitolini.
Author Livioandronico2013
Licensed under the Creative Commons Attribution-Share Alike 4.0 International license.
Wikipedia |
Tommy Trampp |
 |
225k |
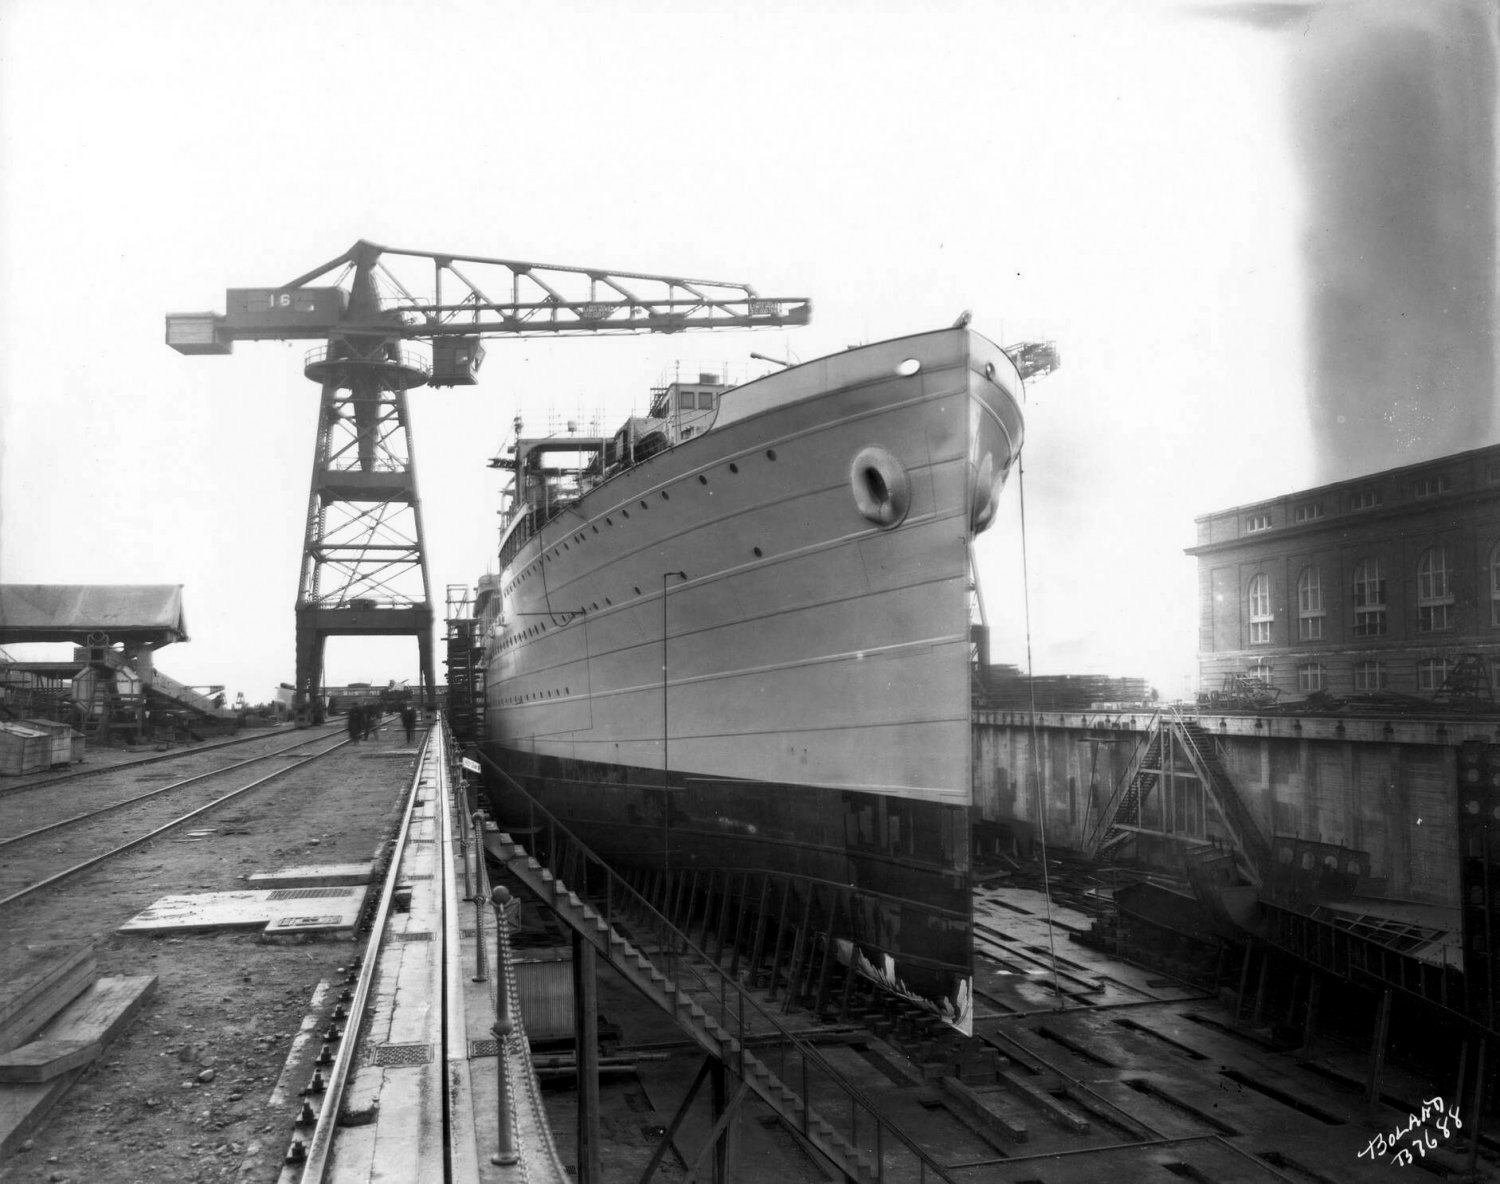
Medusa (AR-1) a $4,000,000 repair ship for the Pacific Fleet, is pictured just prior to launching at the Bremerton Navy Yard on
16 April 1923. Medusa was the first of her kind to be built on the Pacific Coast. Her launching was rather unusual, as she did not slide down the ways, as
normal,but instead the construction dock was flooded and she was floated out to her new berth for fitting out.
Tacoma Public Library, Marvin D. Boland Collection, BOLAND-B7688. Images in the Image Archive may be downloaded for personal, educational, and other non-commercial use |
Mike Green |
 |
217k |
USS Medusa (AR-1) launching, 16 April 1923, at Puget Sound Navy Yard, Bremerton, WA. |
Dale Hargrave |
 |
58k |
USS Medusa (AR-1) at anchor, circa 1920s, location unknown. |
Robert Hurst |
 |
120k |
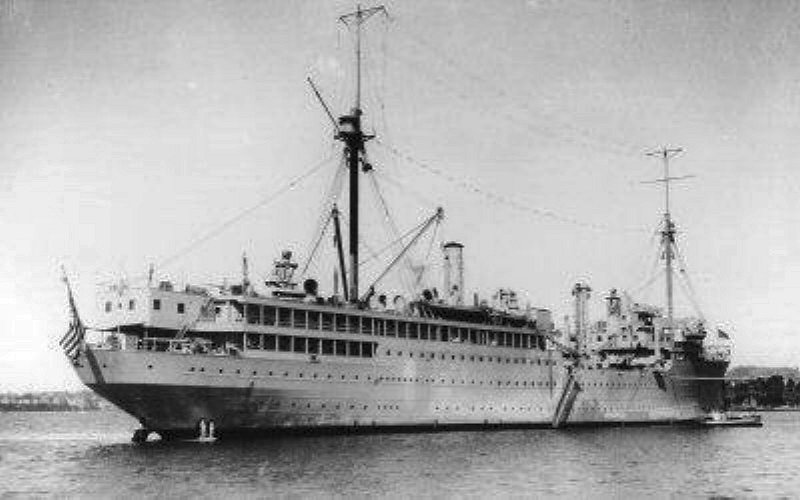
USS Medusa (AR-1) moored pierside at Melbourne, Australia, during the fleet visit in 1925.
Photo by the late Allan Greene |
Chris Howell, with copyright permission |
 |
153k |
 |
53k |
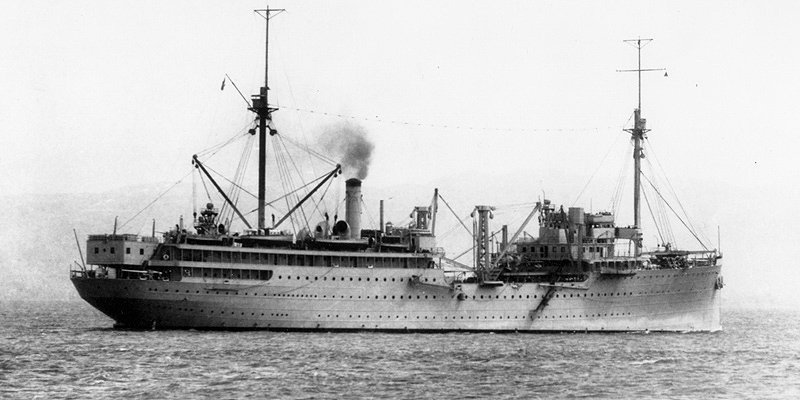
USS Medusa (AR-1) at anchor, circa 1925, location unknown. |
Robert Hurst |
 |
97k |
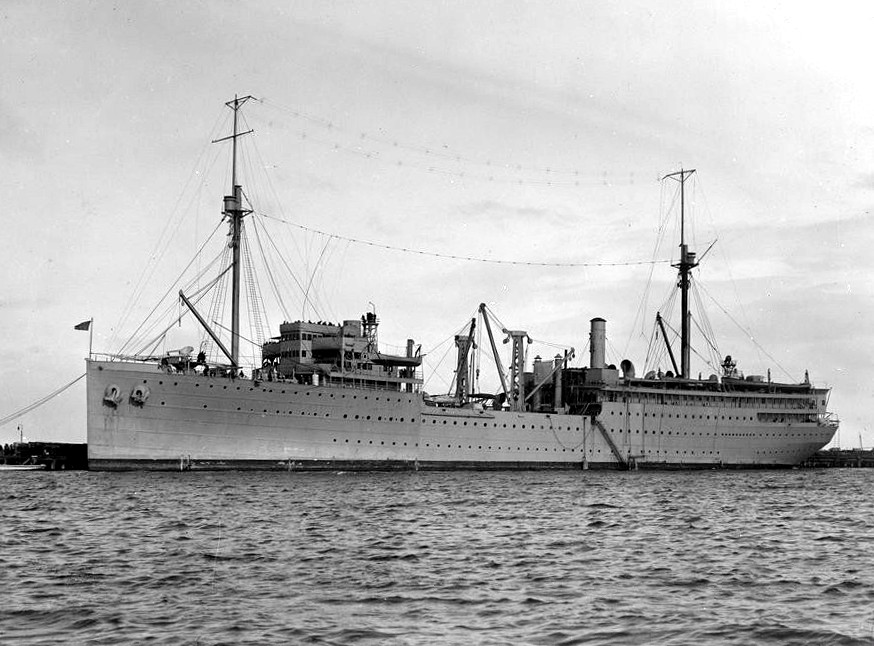
USS Medusa (AR-1) at anchor, date and location unknown. The well deck amidships with its large cargo booms provided space
for loading stores, facilitated access to ships alongside, and served as a boat gangway.
US Naval History and Heritage Command, Photo # NH 69800,
courtesy Shipscribe.com |
Mike Green |
 |
132k |
Dutch submarine K XIII in Navy Yard Mare Island Dry Dock #2, 4 September 1926. USS Medusa (AR-1) is in the background.
Navy Yard Mare Island photo |
Darryl Baker |
 |
102k |
USS Medusa (AR-1) moored, date and location unknown.
US National Archives photo # 80-G-466212, a US Navy photo now in the collections of the US National Archives |
US National Archives |
 |
57k |
USS Medusa (AR-1) at anchor, date and location unknown.
US Navy photo. |
Jim Kurrasch
Battleship Iowa Pacific Battleship Center |
 |
62k |
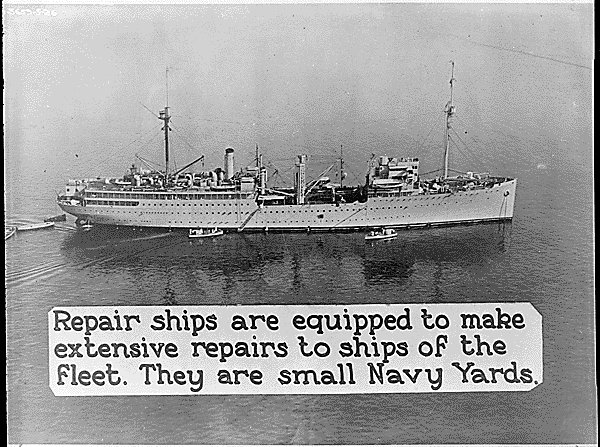
USS Medusa (AR-1) at anchor, date and location unknown.
US Navy photo # NH 83333. |
Jon Burdett and John Chiquoine |
 |
402k |
USS Medusa (AR-1) alongside USS California (BB-44), 25 September 1932 in Elliott Bay, Seattle.
US Navy photo. |
Pieter Bakels |
 |
283k |
 |
121k |
USS Medusa (AR-1) passing under the Steel Bridge at Portland, Oregon, circa the late 1930s. The ship received modifications circa the mid-1930s that included the expansion of the forward superstructure into the well deck and the addition of an extension (possibly a flat metal plate) on the after side of the smokestack.
US Navy courtesy Shipscribe.com |
Mike Green |
 |
100k |
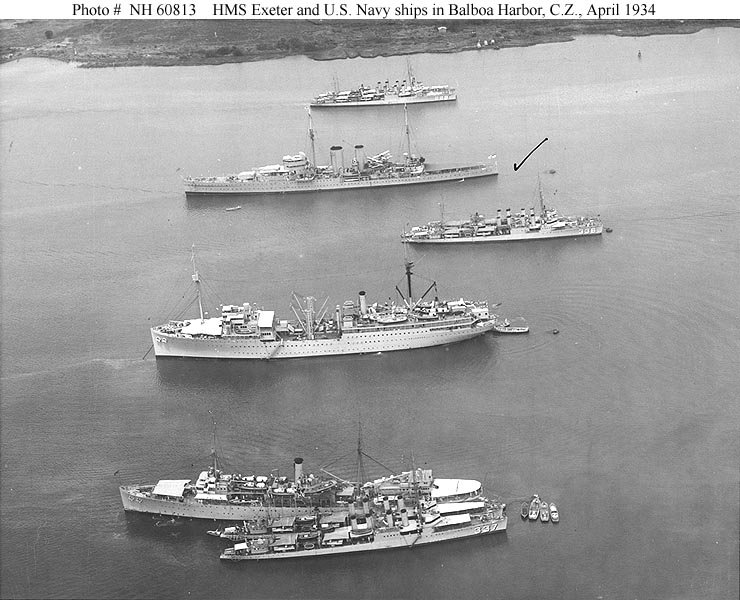
USS Medusa (AR-1) in Balboa Harbor, Panama Canal Zone, 24 April 1934. From the bottom to the top of the photo several US Navy
and British ships are present including USS Zane (DD-337) and another destroyer alongside USS Melville (AD-2), USS Medusa (AR-1), USS Litchfield (DD-336), HMS Exeter and another destroyer nested with USS Truxtun (DD-229).
US Navy photo # NH 60813 from the collections of the US Naval Historical Center. |
US Naval Historical Center |
 |
136k |
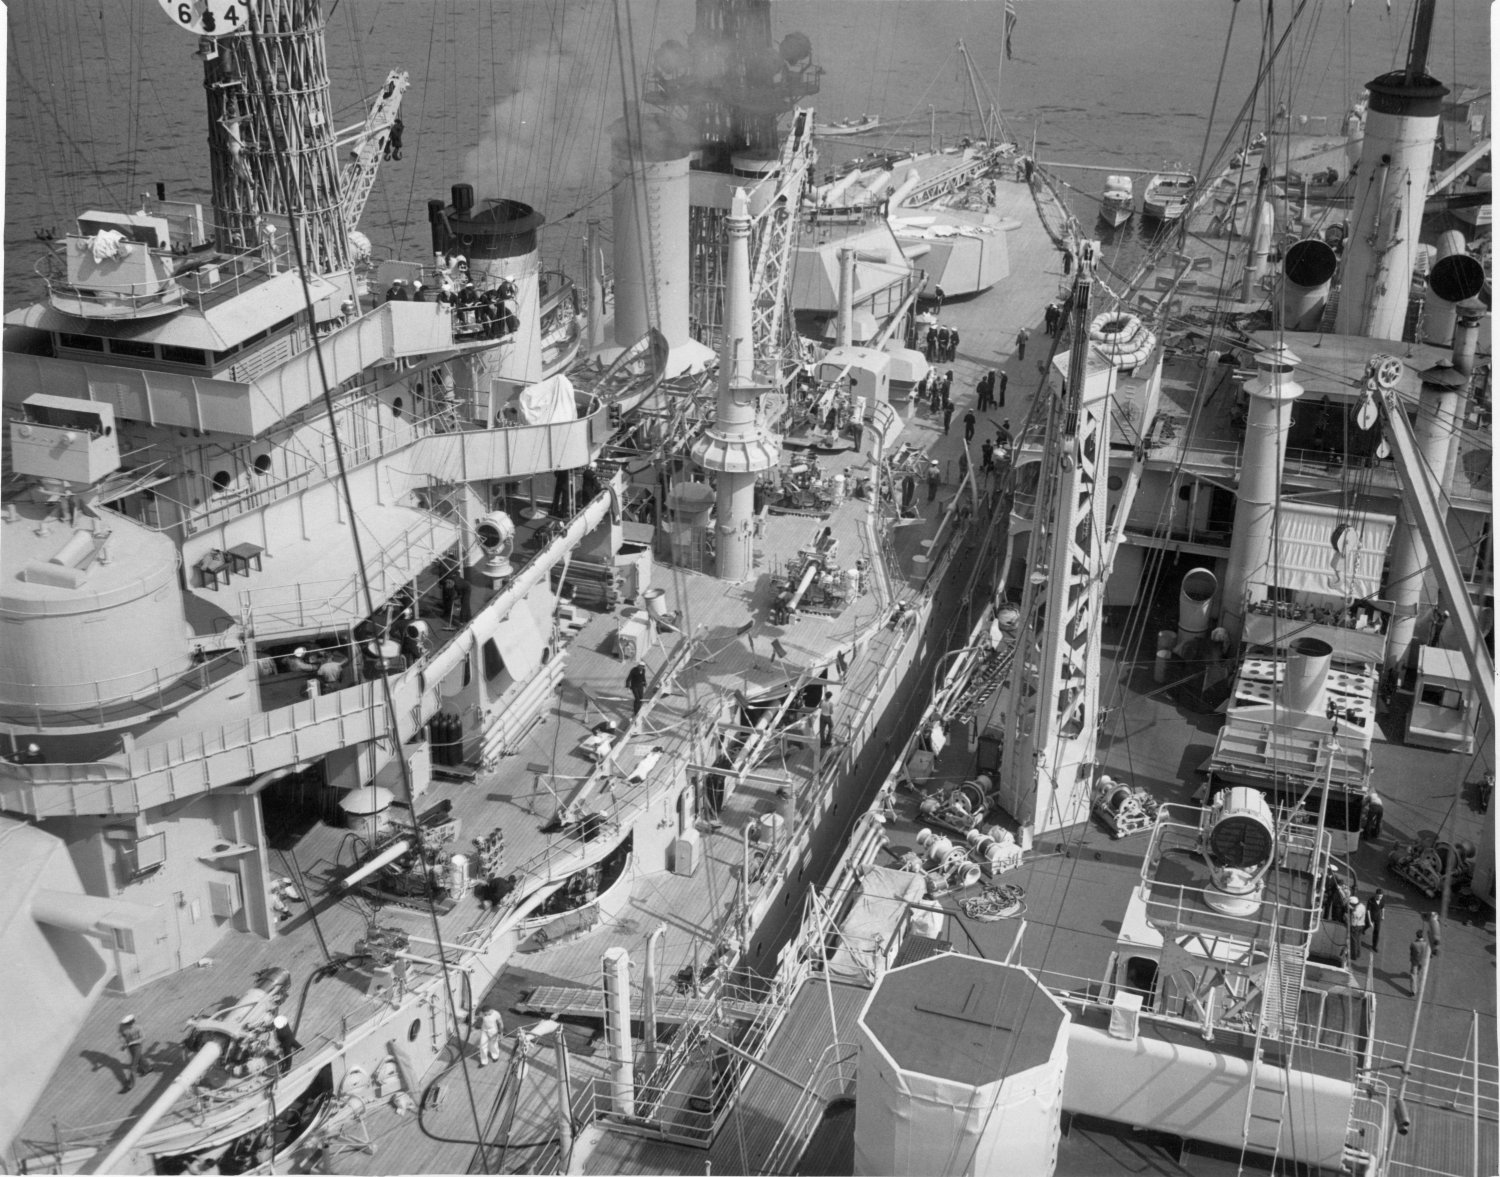
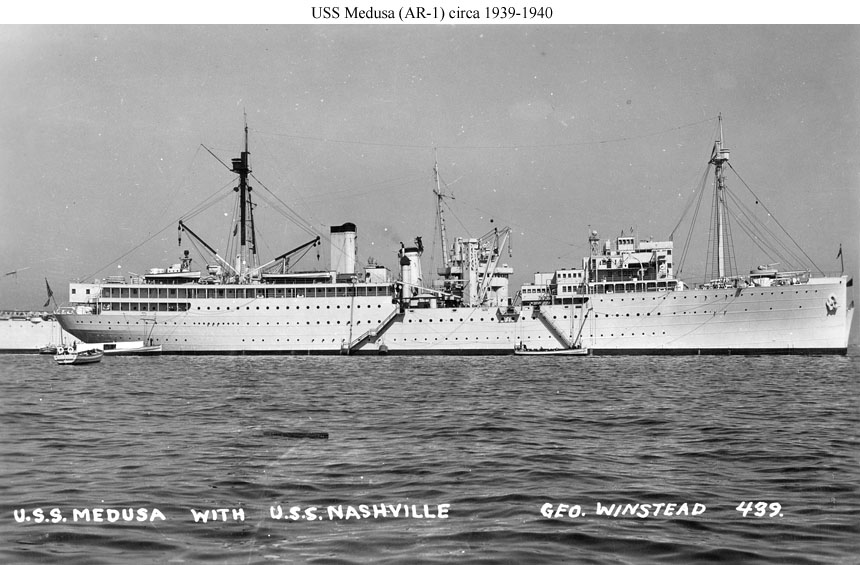
USS Medusa (AR-1) with USS Nashville (CL-43) alongside circa 1939-1940. The primary mission of repair ships was to support battleships and cruisers. The well deck of the repair ship is at about the same level as the main deck of the cruiser. Note the encroachment of the forward superstructure into it.
US Navy courtesy Shipscribe.com |
Mike Green |
 |
121k |
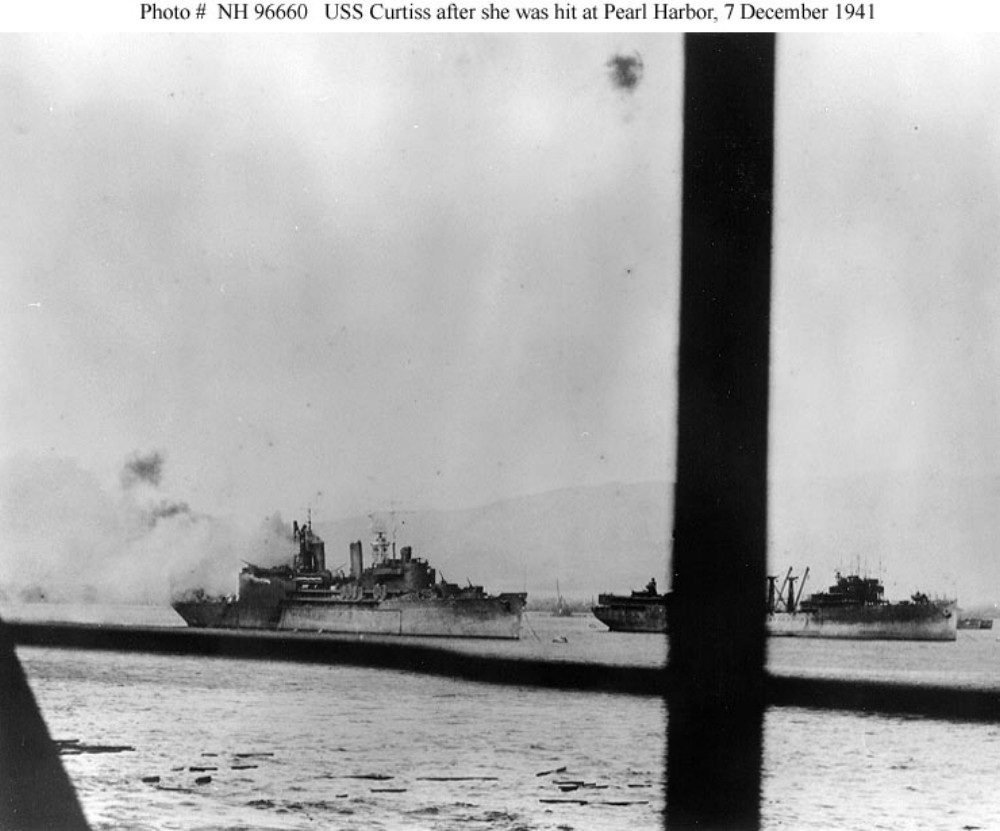
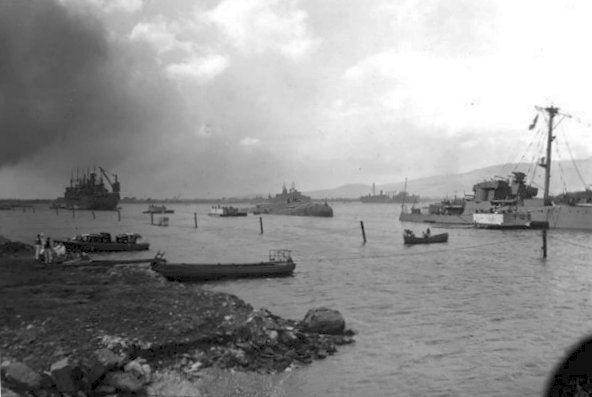
USS Curtiss (AV-4) afire after she was hit by a crashing Japanese dive bomber. Photographed from USS Tangier (AV-8). USS Medusa (AR-1) is at right. Timbers floating in the water (foreground) may be from USS Utah (AG-16), which had been sunk at her berth, astern of Tangier. Note weathered paint work on Curtiss and Medusa. The original photograph was in the CinCPac report of the Pearl harbor Attack, 15 February 1942, Volume 3, in 1990.
US Naval History and Heritage Command photo #: NH 96660 |
Robert Hurst |
 |
39k |
View of the west side of Ford Island during the Japanese attack on Pearl Harbor, Hawaii, 7 December 1941. Visible are (left to right): USS Tangier (AV-8), the capsized USS Utah (AG-16), USS Curtiss (AV-4) in the distance directly behind Utah, USS Medusa (AR-1), and the stern of USS Raleigh (CL-7), which is listing after a torpedo hit.
USAAF photo. U.S. National Park Service Pearl Harbor gallery. |
Robert Hurst |
 |
87k |
USS Medusa (AR-1) at her mooring in Pearl Harbor soon after the Japanese raid of 7 December 1941. The damaged USS Curtiss (AV-4), is moored to starboard of USS Medusa
Note that USS Curtiss (AV-4) has been fitted with an air search radar.
US National Archives photo # 80-G-32733, a US Navy photo now in the collections of the National Archives |
US Naval Historical Center |
 |
105k |
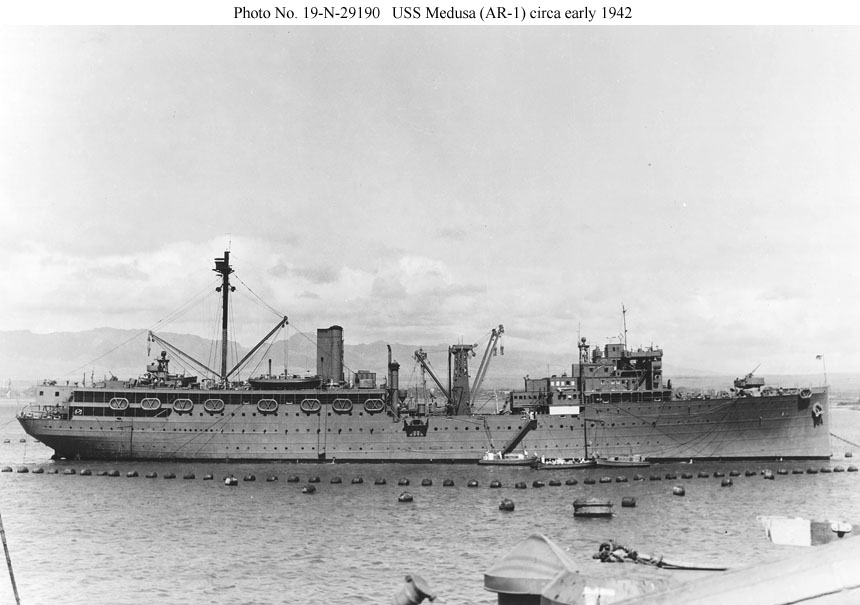
USS Medusa (AR-1) moored behind torpedo nets at Pearl Harbor circa early 1942. She still has her original armament of
four 5"/51 and two 3"/50 AA guns.
US National Archives, RG-19-LCM, Photo # 19-N-29121, a US Navy Bureau of Ships photo now in the collections of the
US National Archives, courtesy Shipscribe.com. |
Mike Green |
 |
109k |
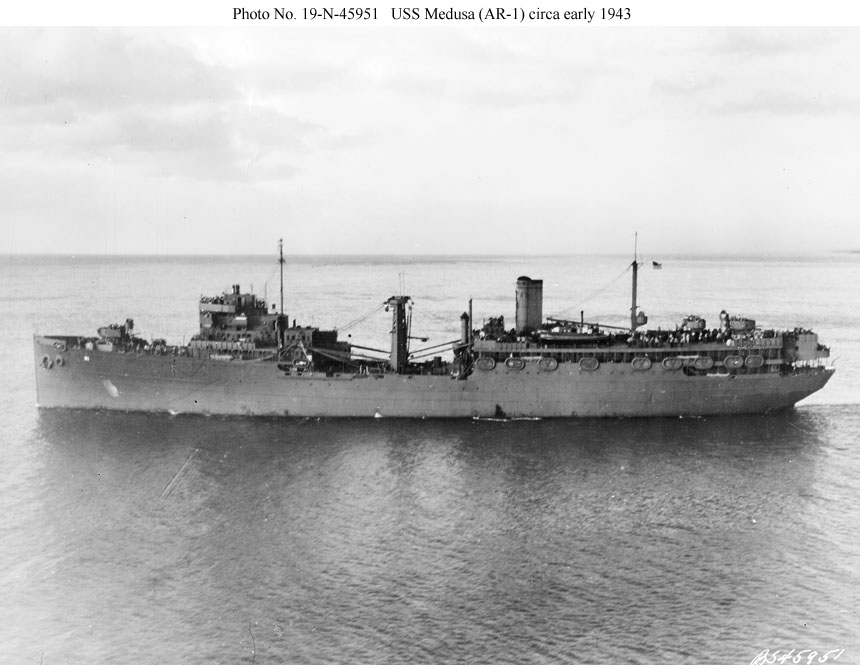
USS Medusa (AR-1) underway circa early 1943. Medusa was at Pearl Harbor until April 1943 when she departed for
the Southwest Pacific.
US National Archives, RG-19-LCM, Photo # 19-N-45951, a US Navy Bureau of Ships photo now in the collections of the
US National Archives, courtesy Shipscribe.com. |
Mike Green |


