NavSource Online: Mine Warfare Vessel Photo Archive
Chandler (AG 108)
ex-DMS-9
Nan - Able - George - Love
Specifications:
| Click on thumbnail for full size image |
Size | Image Description | Source | |
|---|---|---|---|---|
| USS Chandler (DD 206) | ||||
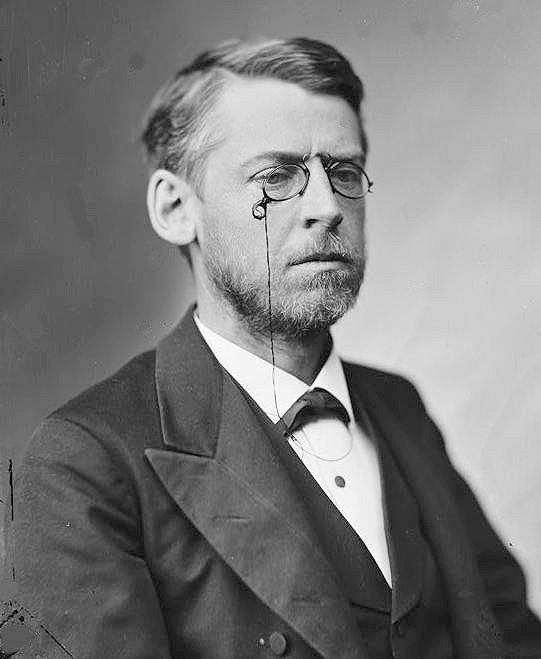 |
41k | William Eaton Chandler was born in Concord, New Hampshire, 28 December 1835, and graduated from Harvard Law School in 1854. Chandler served as Secretary of the Navy from 1882 to 1886, and as Senator from New Hampshire from 1887 to 1901. He died at Concord, 30 November 1917 Library of Congress photo |
Bill Gonyo | |
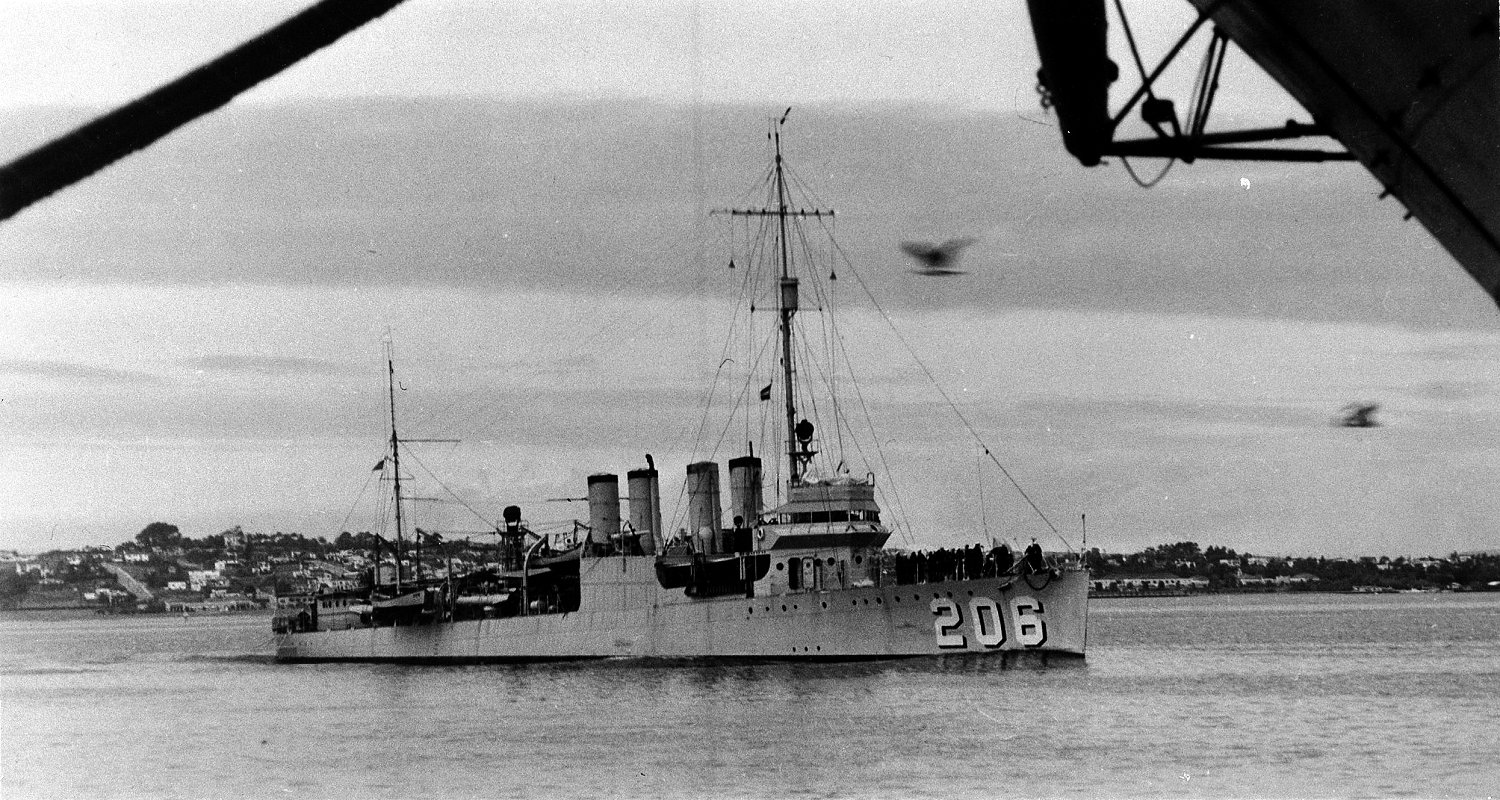 |
358k | U.S. Navy photo DD 206-1 from the collection of the Vallejo Naval and Historical Museum | Darryl Baker | |
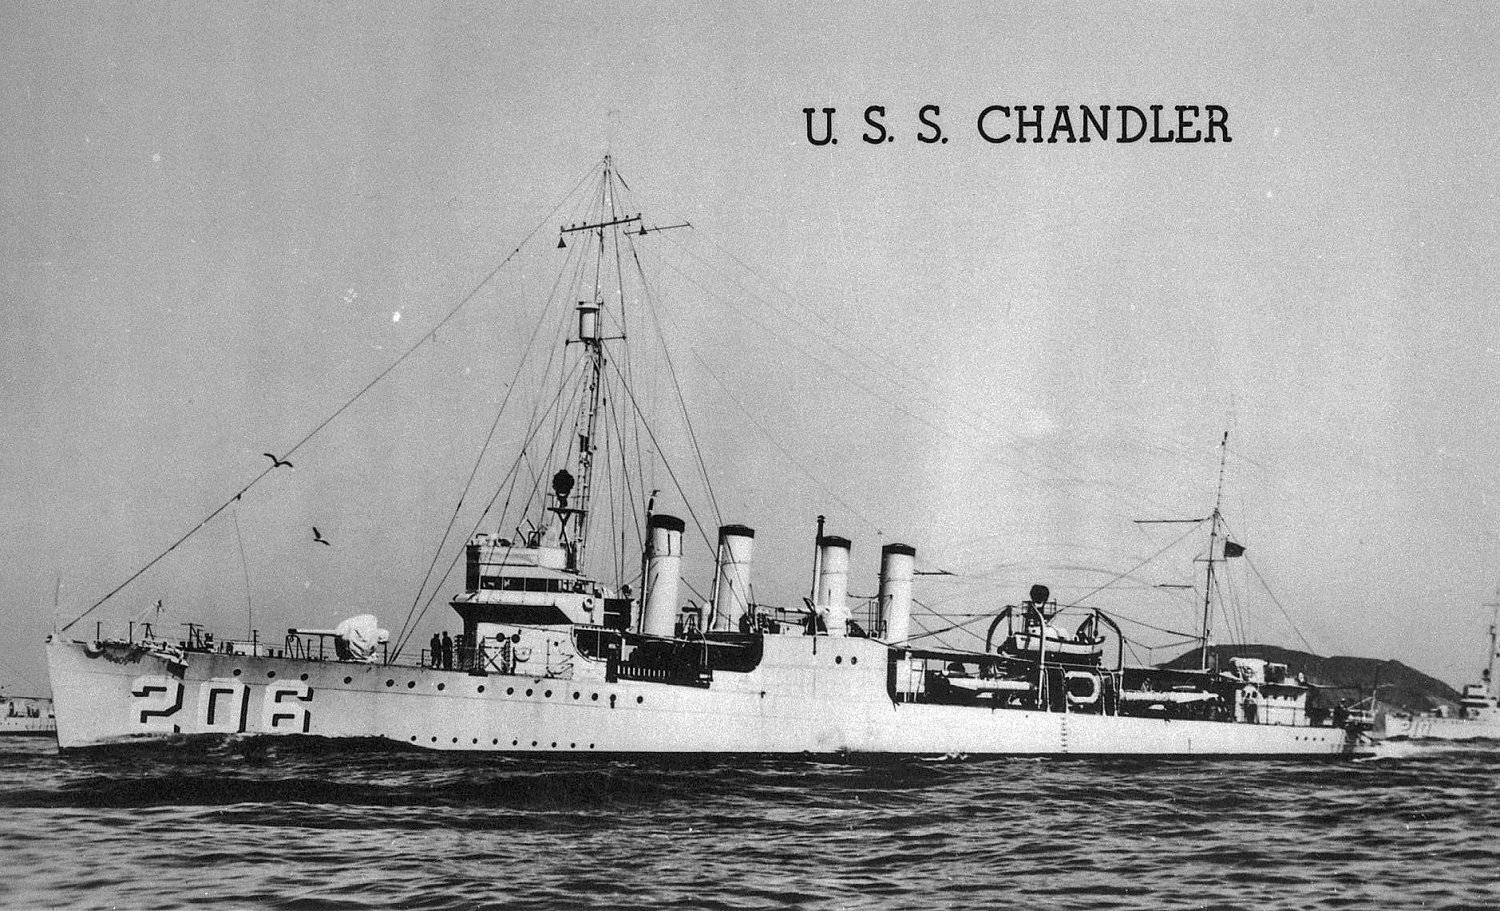 |
387k | Broome (DD 210) is astern of Chandler U.S. Navy photo DD 206-3 from the collection of the Vallejo Naval and Historical Museum |
||
| USS Chandler (DMS 9) | ||||
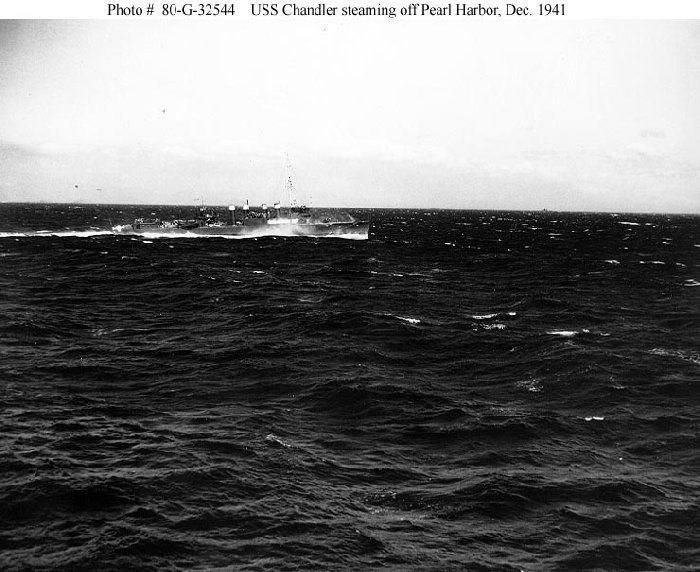 |
82k | Chandler throws up spray as she steams out of Pearl Harbor at about the time of the Japanese raid on 7 December 1941. She returned to Pearl Harbor 2 days later. National Archives photo 80-G-32544 |
Naval Historical Center | |
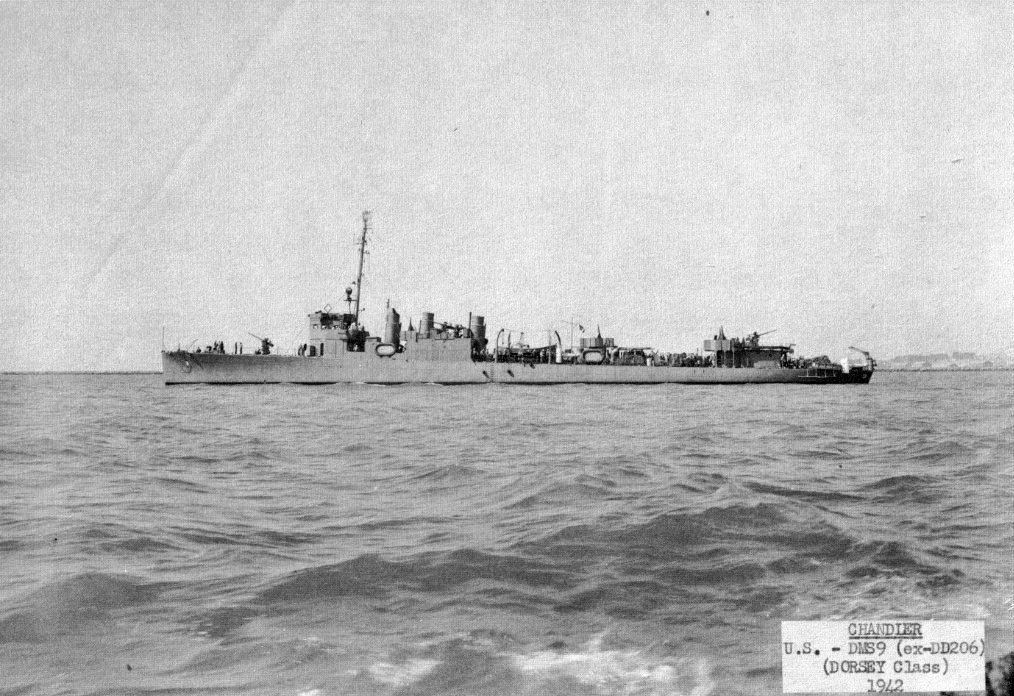 |
214k | c. 1942 | Barbara Rebold | |
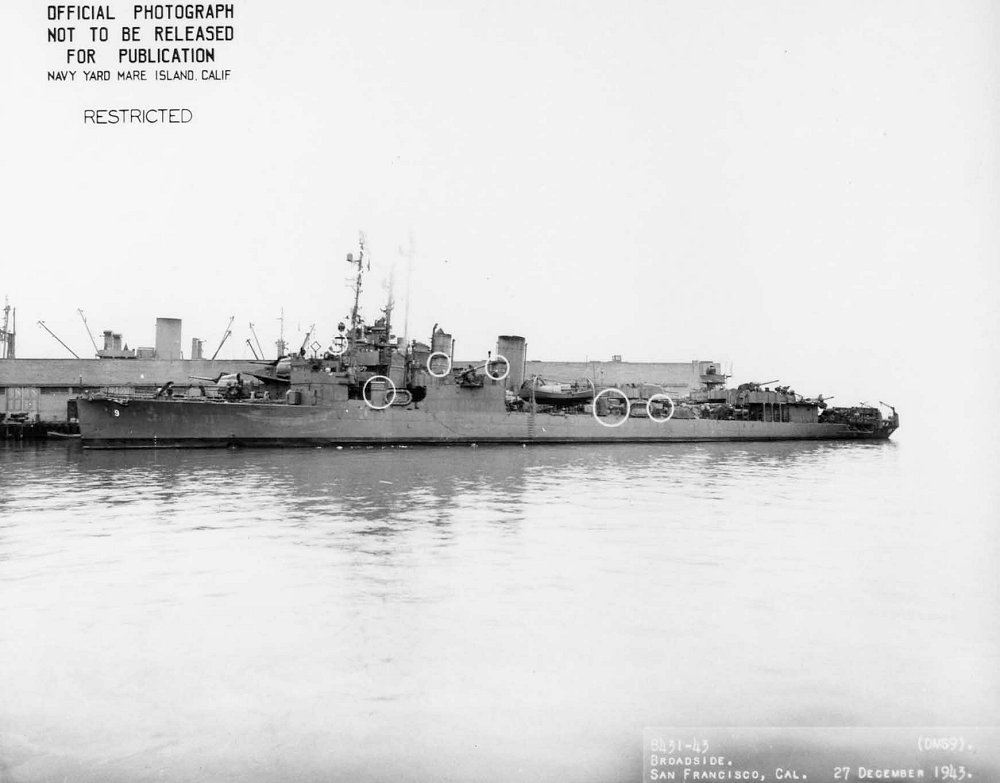 |
77k | 27 December 1943 Broadside view of Chandler at San Francisco. U.S. Navy photo 8431-43 |
Darryl Baker | |
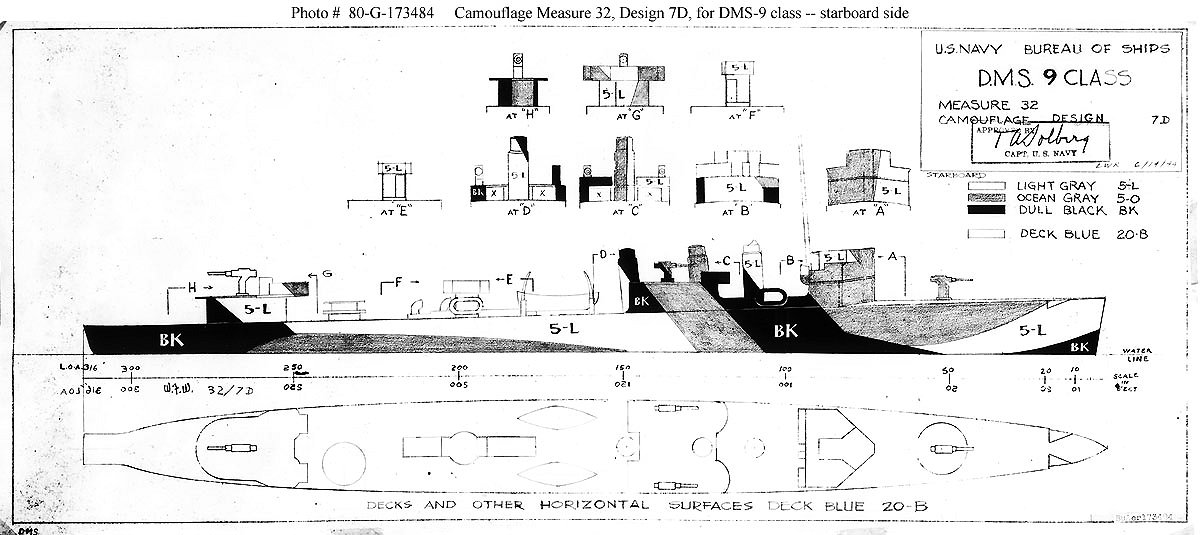 |
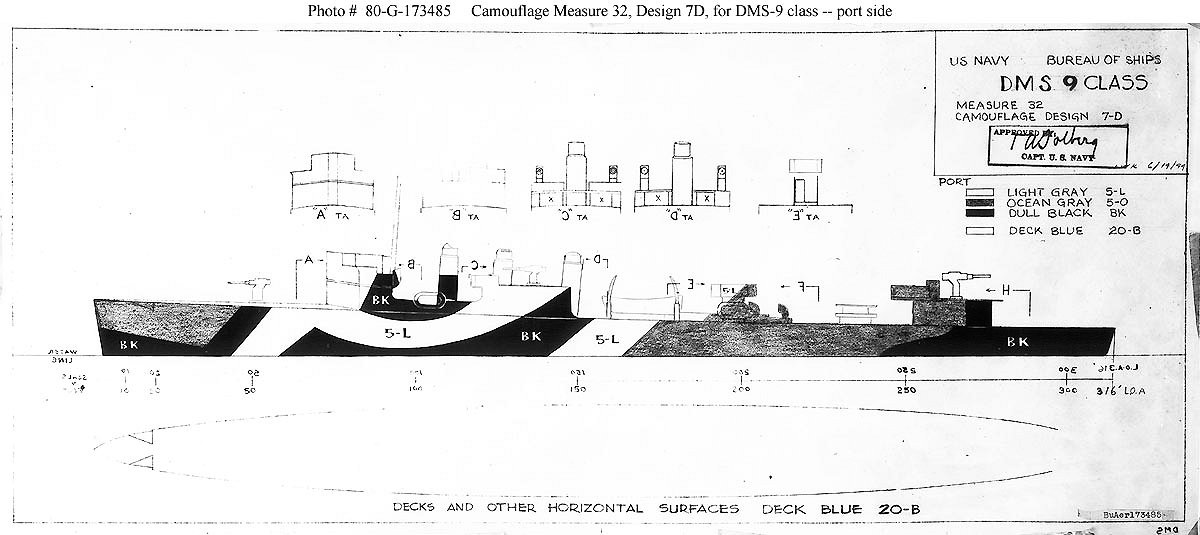
134k | Camouflage Measure 32, Design 7D drawing prepared by the Bureau of Ships for a camouflage scheme intended for high speed minesweepers of the DMS-9 (Chandler) class. This plan, approved by Captain Torvald A. Solberg, USN, is dated 14 June 1944. It shows the ship's starboard side and superstructure ends and port side National Archives photo 80-G-173484 and 80-G-173485 at the Naval Historical Center |
Paul Rebold | |
 |
103k | |||
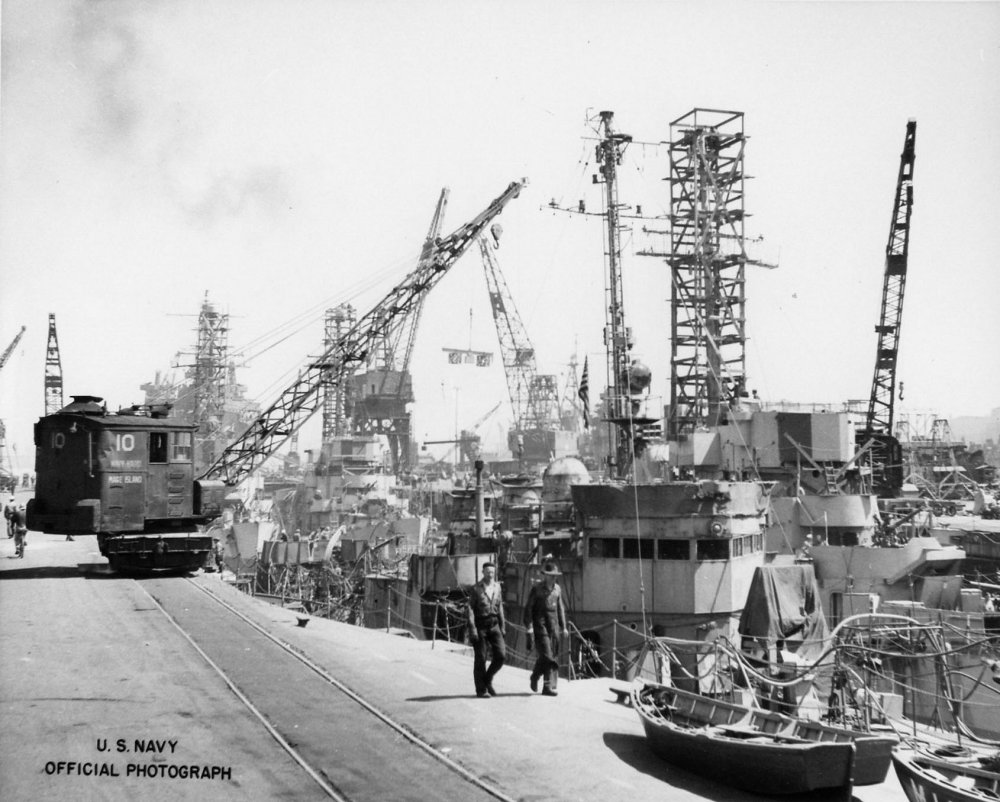 |
144k | 28 April 1945 The bridge of the Chandler is visible while she was in dry dock No. 2 at Mare Island. USS William C. Miller (DE 259), USS Cabana (DE 260) and USS Canfield (DE 262) were in dock with Chandler U.S. Navy photo 3042-45 |
Darryl Baker | |
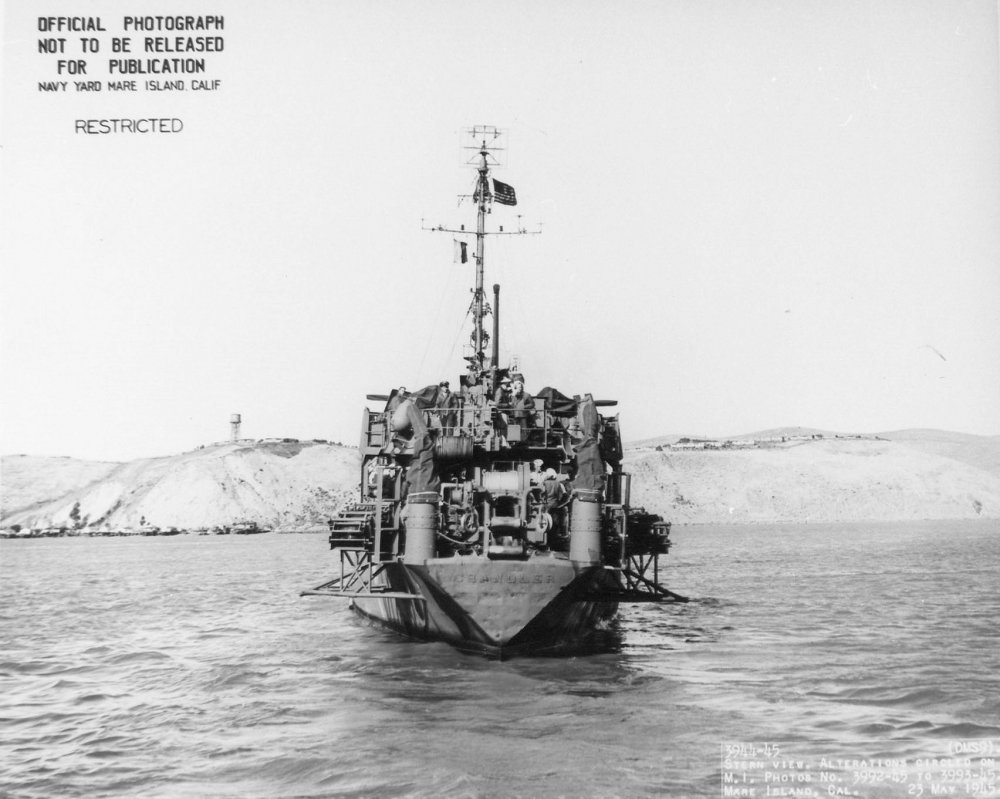 |
108k | 2 May 1945 Stern view off Mare Island U.S. Navy photo 3944-45 |
||
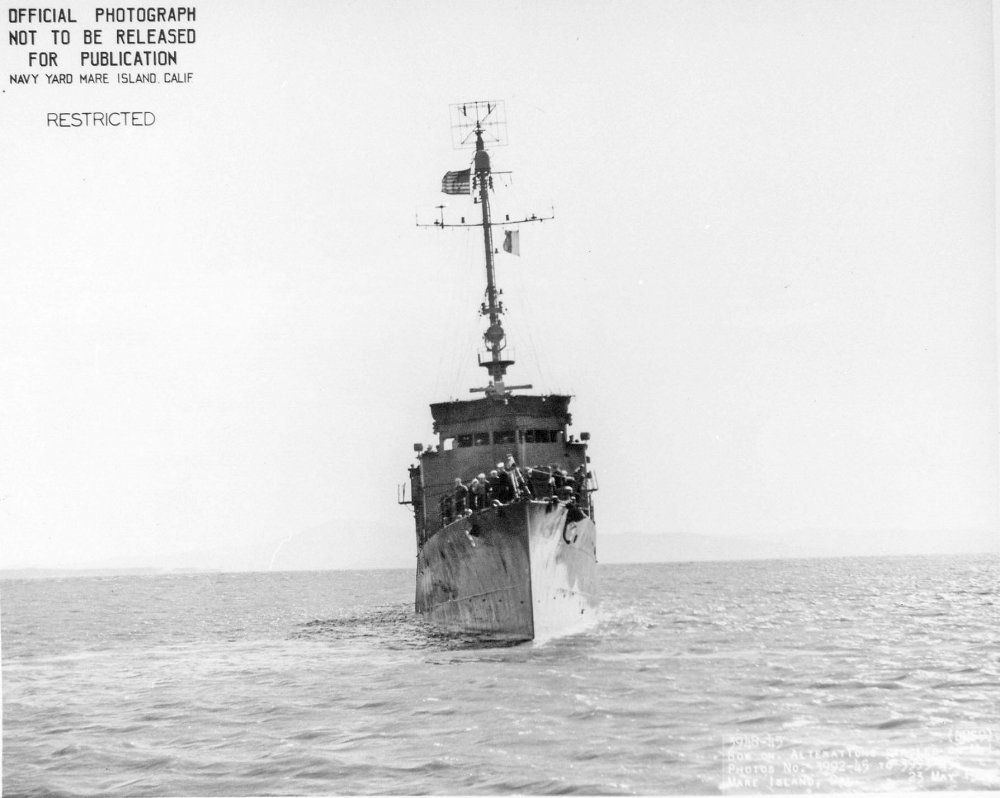 |
91k | 2 May 1945 Bow on view off Mare Island U.S. Navy photo 3948-45 |
||
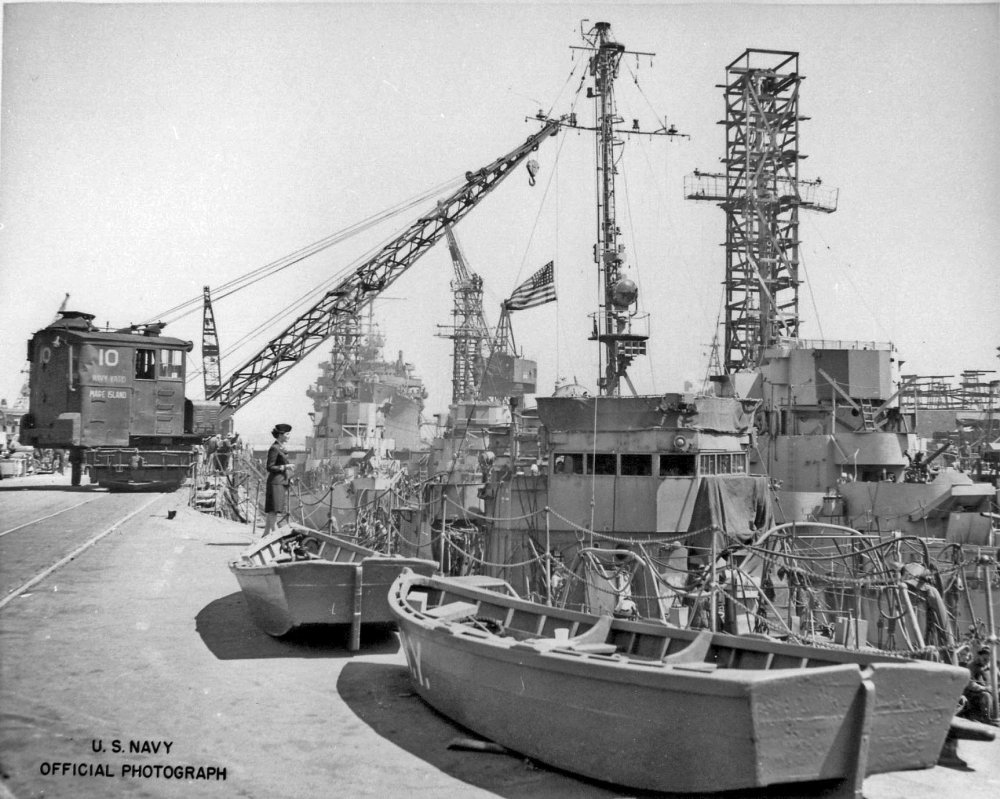 |
169k | 7 May 1945 The bridge of the Chandler is visible while she was in dry dock No. 2 at Mare Island. USS William C. Miller (DE 259), USS Cabana (DE 260) and USS Canfield (DE 262) were in dock with Chandler U.S. Navy photo 3043-45 |
||
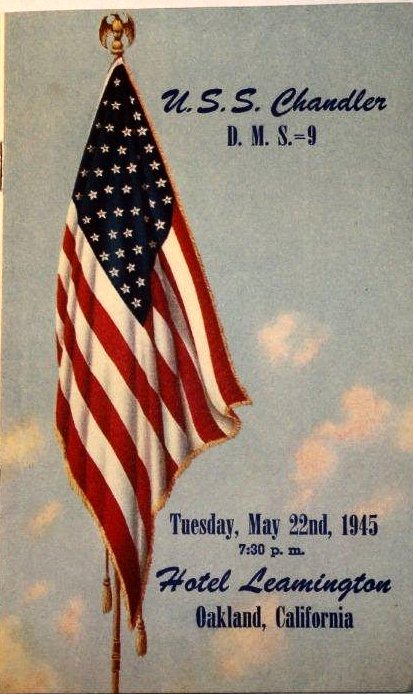 |
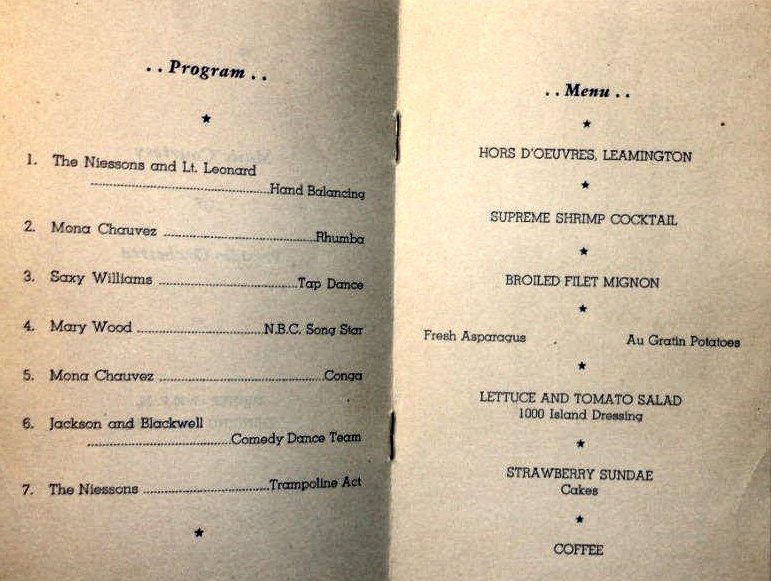
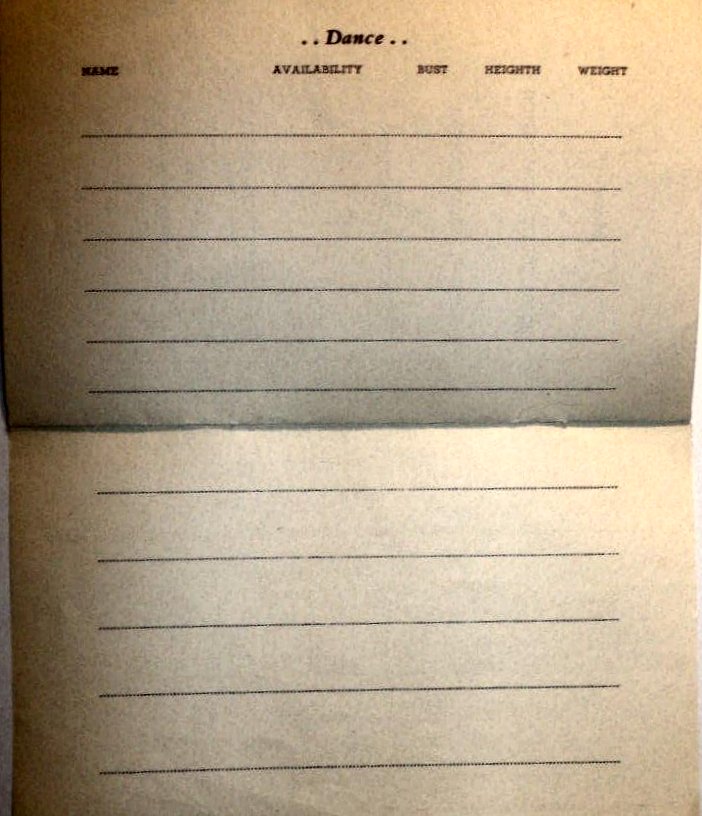
74k | 22 May 1945 Ships party program |
Tommy Trampp | |
 |
82k | |||
 |
104k | |||
 |
99k | |||
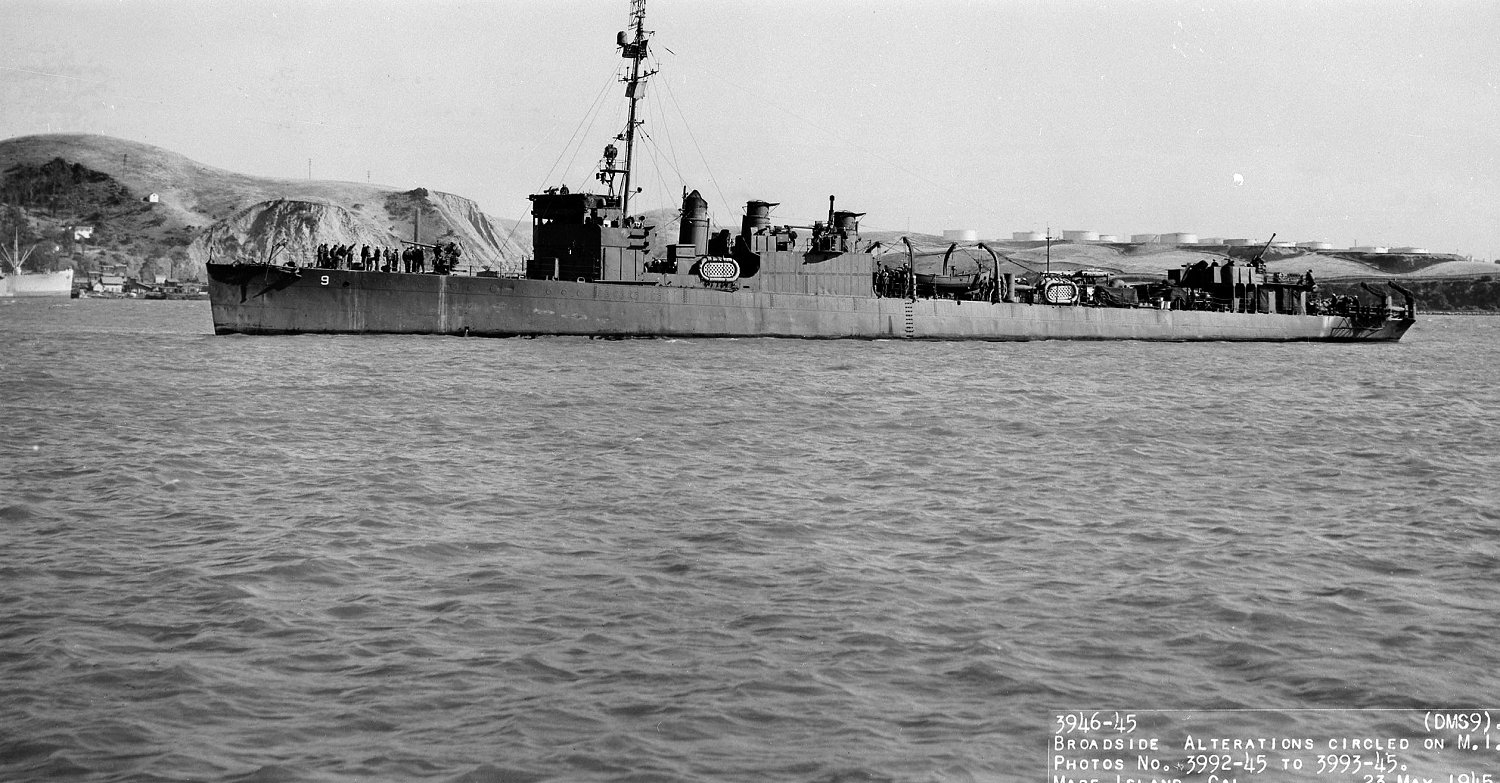 |
274k | 23 May 1945 Off Mare Island, CA U.S. Navy photo 3946-45 from the collection of the Vallejo Naval and Historical Museum |
Darryl Baker | |
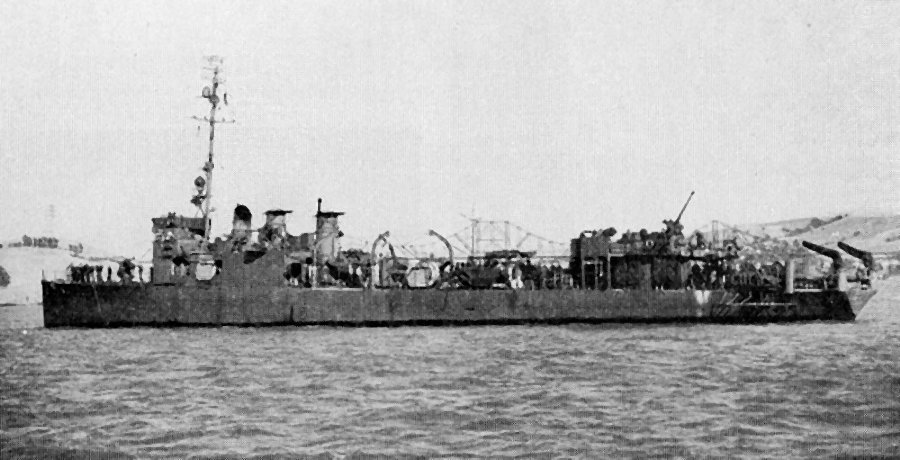 |
83k | 23 May 1945 Off Mare Island Navy Yard Her minesweeping duties were finished at this date and she was reclassified as a miscellaneous auxiliary (AG-108) on June 5th. For the remainder of the war she spent her duty towing targets in gunnery exercises for new ships engaged in shakedown training U.S. Navy photo from U.S. Warships of World War II by Paul H. Silverstone |
Mike Green | |
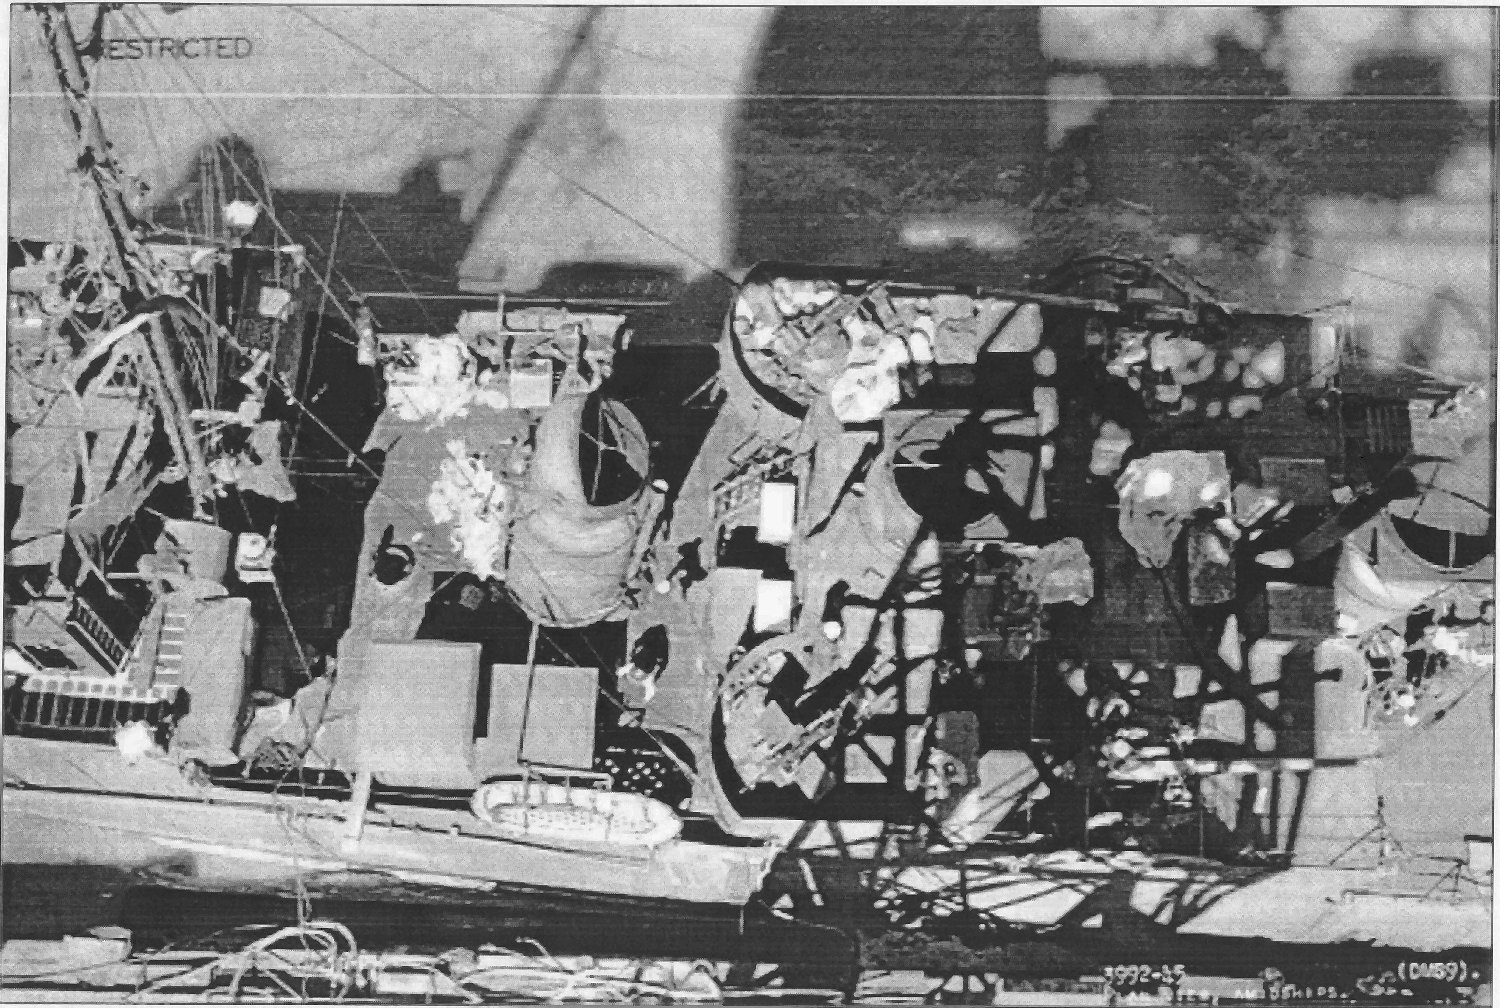 |
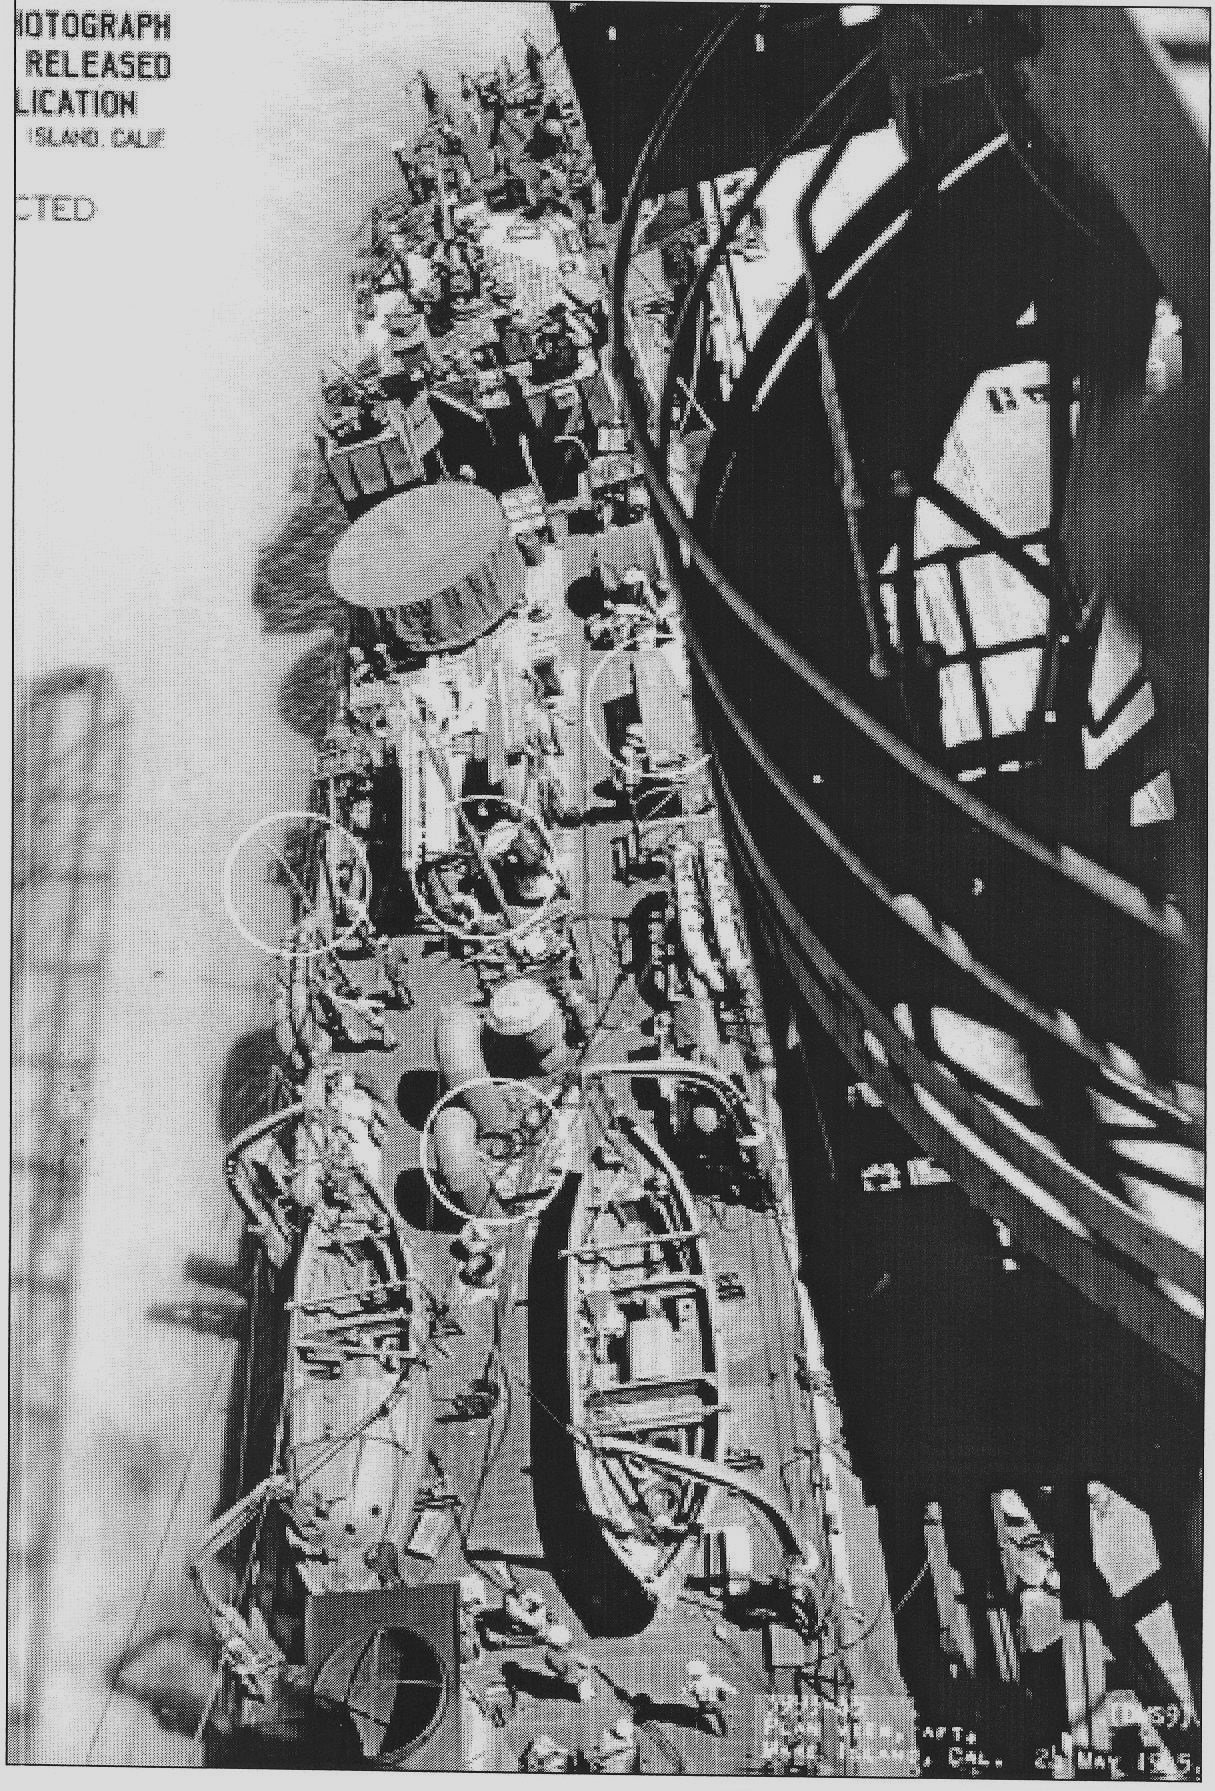
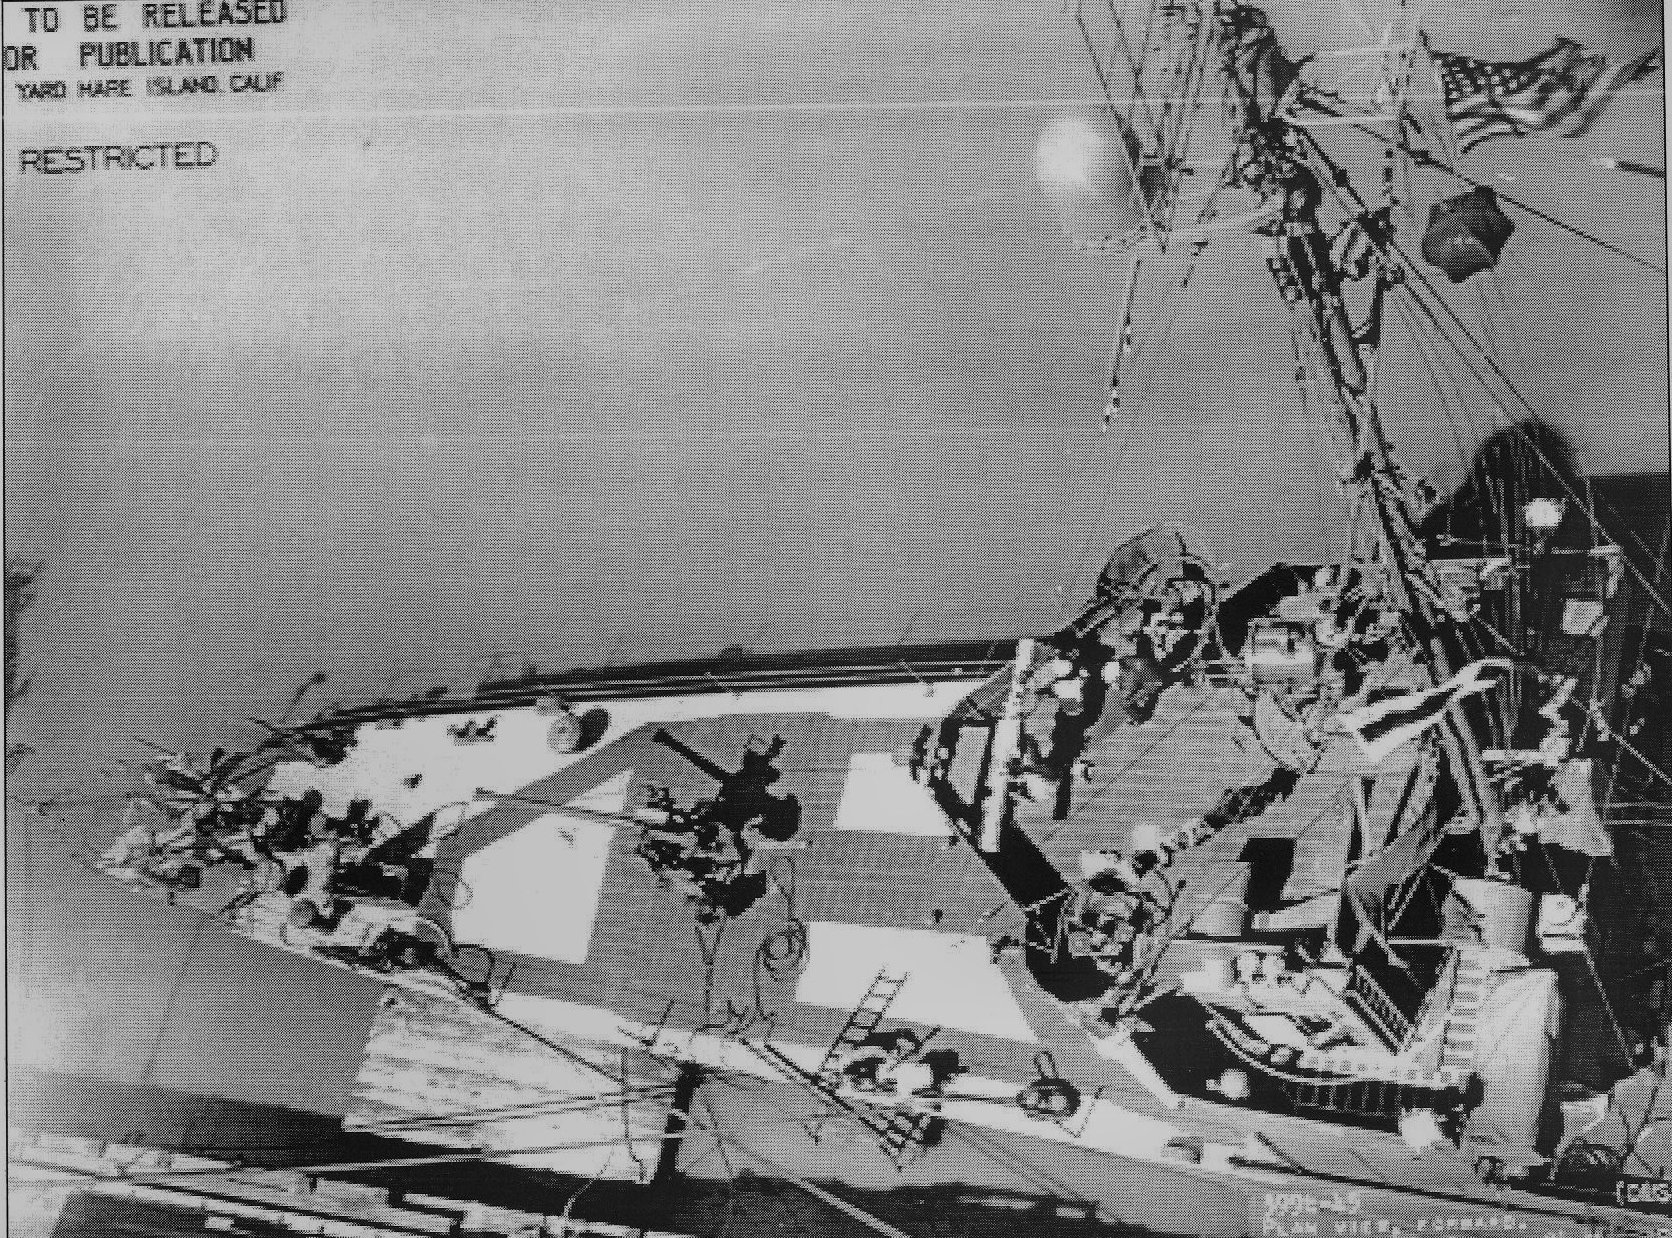
433k | 24 May 1945 At Mare Island Navy Yard From the collection of John Dickey U.S. Navy photos |
Ed Zajkowski | |
 |
795k | |||
 |
939k | |||
| USS Chandler (AG 108) | ||||
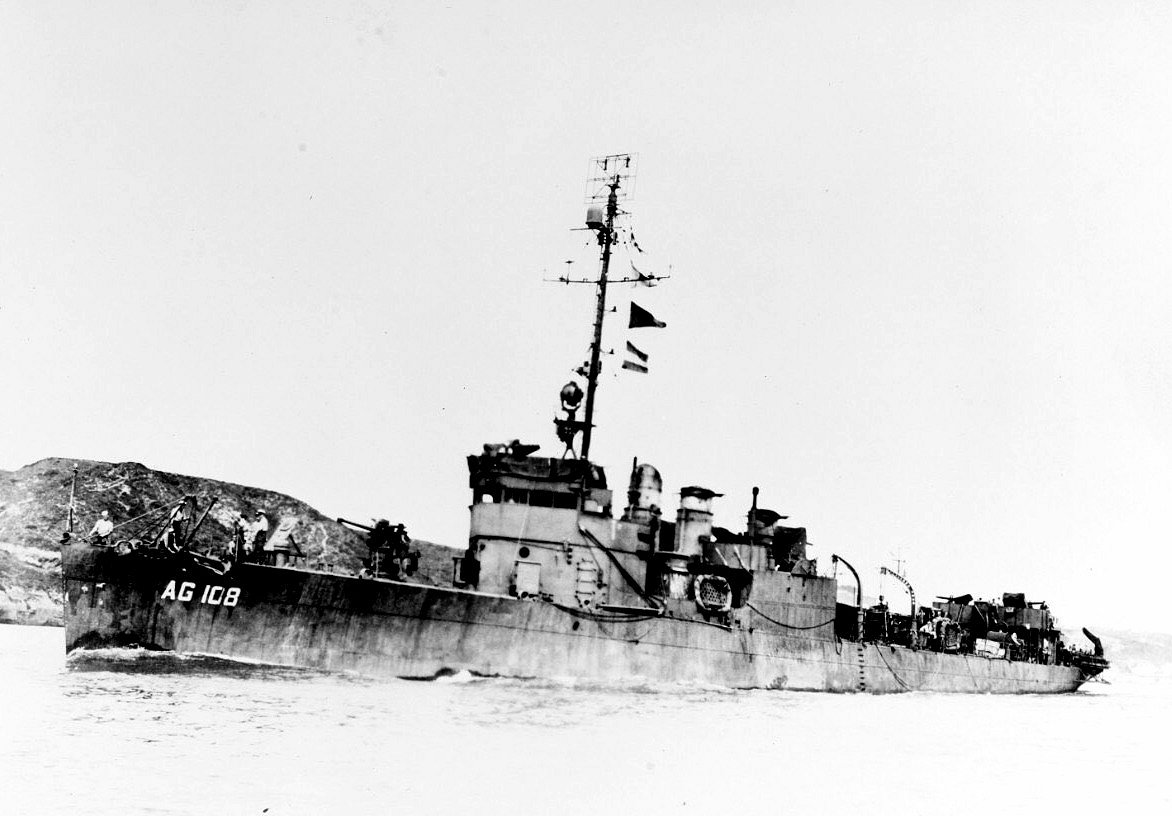 |
117k | c.. September 1945 Off San Diego, CA Courtesy of Donald M. McPherson, 1976 Naval History and Heritage Command photo NH 84640 |
Mike Green Photo added 7 June 2019 |
|
| Commanding Officers | ||
| 01 | LCDR Francis Cogswell, USN - USNA Class of 1908 Awarded the Navy Cross (1918) - Retired as Captain | 5 September 1919 |
| 02 | CDR Max Burke de Mott, USN | 30 April 1930 - 1932 |
| 03 | LCDR Leon Buford Scott, USN | 1932 |
| 04 | LCDR John Ernest Reinburg, Jr., USN - Awarded the Legion of Merit (1944) | 1934 |
| 05 | LCDR Dennis Leo Ryan, USN - USNA Class of 1916 Awarded the Legion of Merit (1945) - Retired as Rear Admiral | 1935 |
| 06 | LCDR Carleton McGauly, USN | 1936 |
| 07 | LCDR William Stryker Campbell, USN - Awarded the Legion of Merit (1944) | 1938 |
| 08 | LT Stirling Patterson Smith, USN | 1939 |
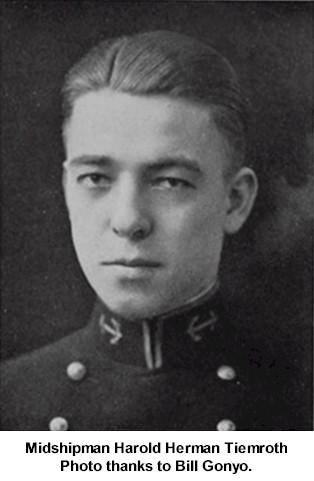
| 09 | LCDR Harold Herman Tiemroth, USN - Awarded the Legion of Merit (1943) Retired as Rear Admiral | 1941 - 20 April 1942 |
| 10 | LCDR Jack Sidney Dorsey, USN - Awarded three Legion of Merits (1944/1945/1968) Retired as Rear Admiral | 20 April 1942 - 20 April 1943 |
| 11 | LCDR Harry LeRoy Thompson, Jr., USN - Awarded the Legion of Merit (1945) | May 1943 - 10 August 1944 |
| 12 | LT Frank Murray Murphy, USNR | 10 August 1944 - 1 July 1945 |
| 13 | LT Irwin Ungar, USNR | 1 July 1945 - 12 November 1945 |
|
|
| Comments, Suggestions, E-mail Webmaster |
|
This page was created by Gary P. Priolo & maintained by Joseph M. Radigan (of blessed memory) & David Wright
All Pages © 1996 - 2023, NavSource History, All rights reserved. |